Contact us
Please leave your specific needs and contact information, and the staff will contact you as soon as possible!
Explore superior cone crusher liners at Qiming Casting, the foremost China Cone Crusher Liner Factory. Our advanced technology delivers precision-engineered and durable liners, surpassing industry standards. Count on our dedication to quality, innovation, and unparalleled customer service. Elevate your crushing efficiency with Qiming Casting’s high-performance cone crusher liners.
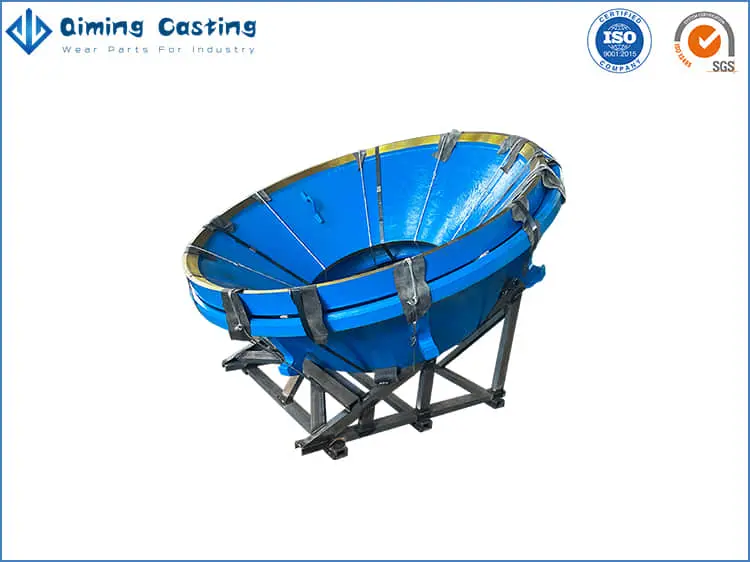
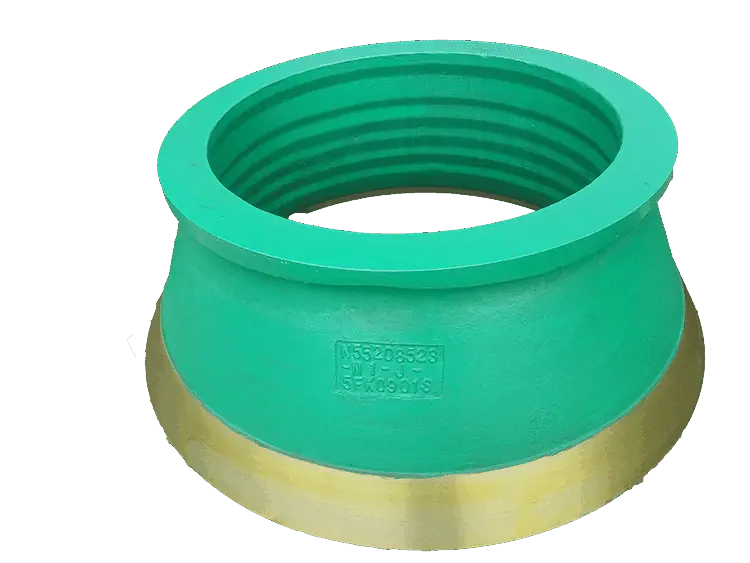
Cone Crushers Liners is the outerwear of a Cone Crush Operator. A Cone crusher operator takes on the strenuous task of crushing gigantic rocks into smaller ones. Investing in the proper protective gear becomes essential to ensure a seamless, smooth activity. You might also find Cone Crusher Liners as ‘Cone Crusher Wear Parts.’
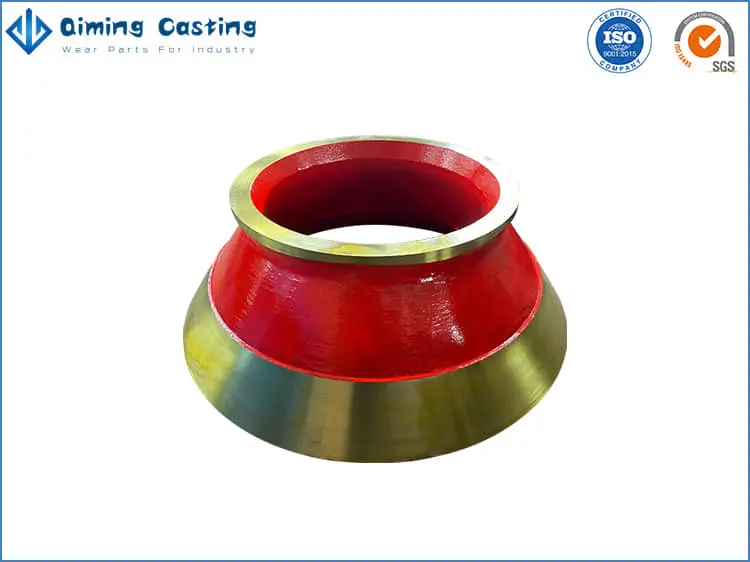
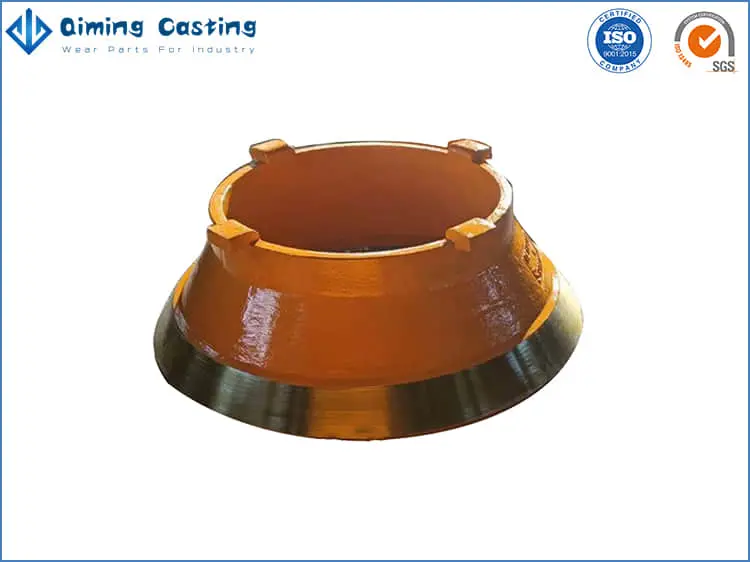
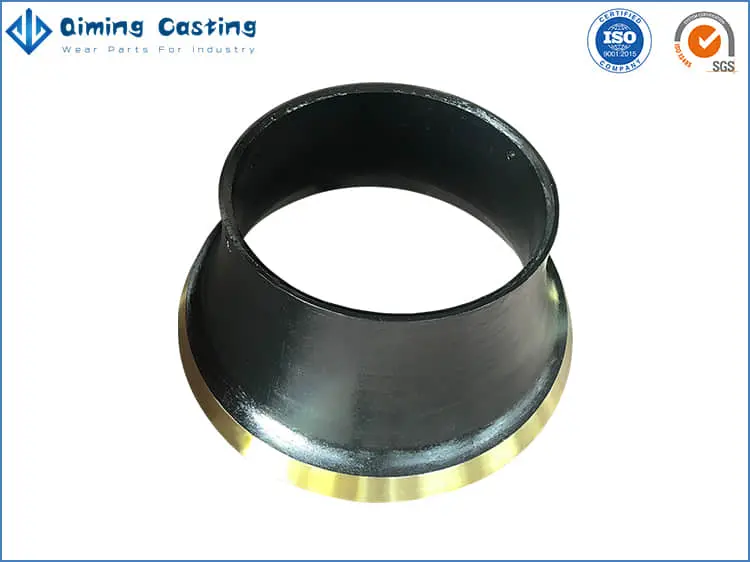
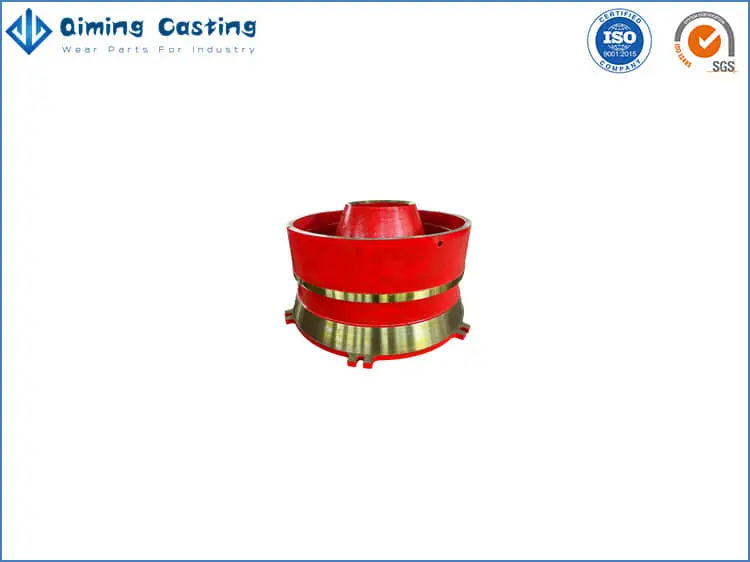
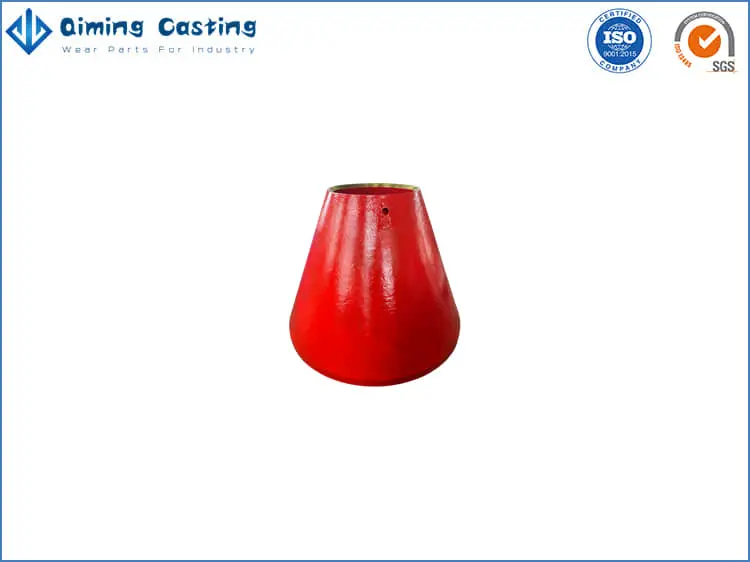
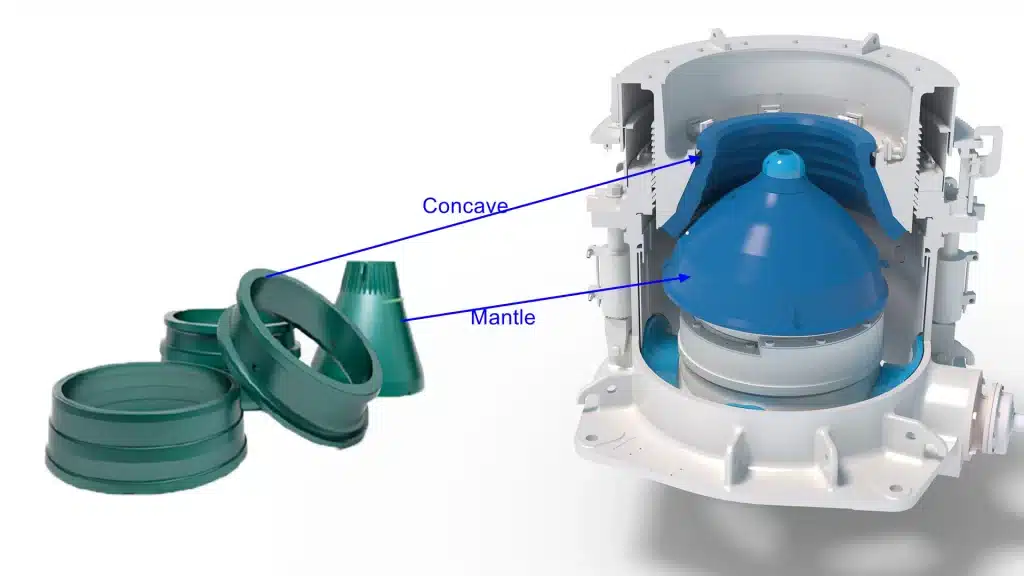
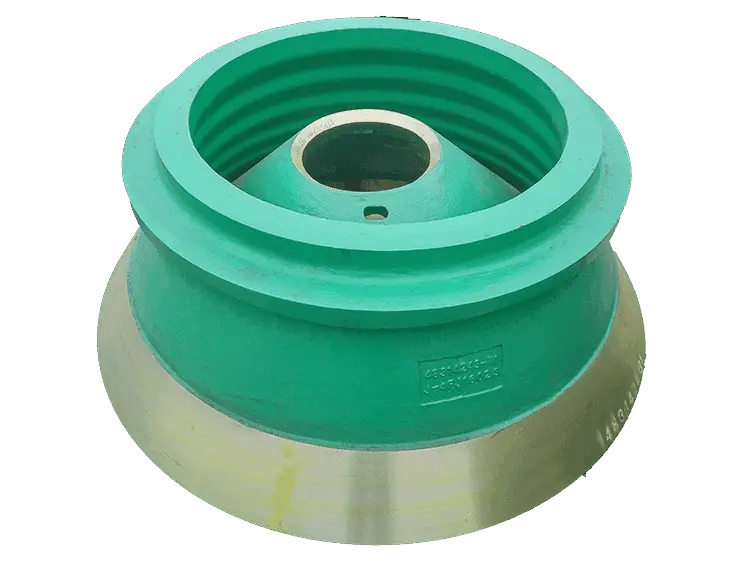
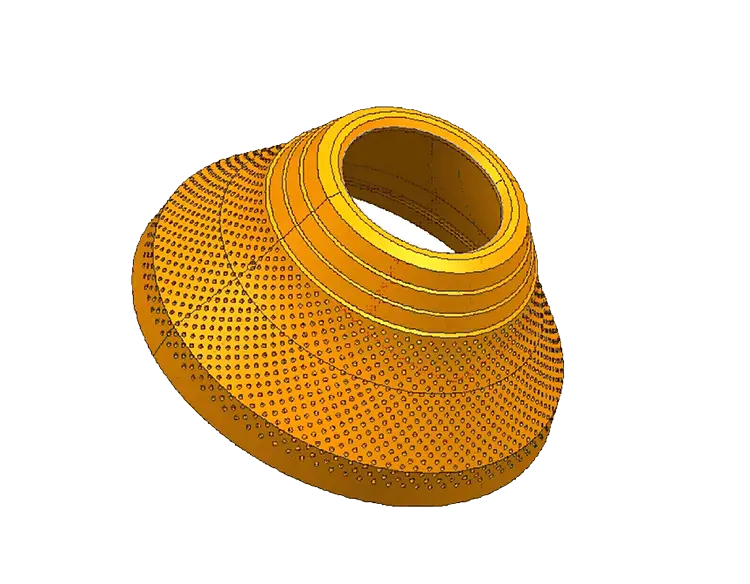
A Cone Liner is shaped as a hollow sphere with two bowl-shaped lining plates. The upper plate is categorically recognized as ‘Bowl Liner’ or ‘Concave,’ whereas the lower plate is known as ‘Cone Liner’ or ‘Mantle.’ The space between the two liners forms a crushing chamber that smartly adjusts both liners once the crushing is in progress.
Cone Liners are made of high-quality manganese steel for strong adherence upon impact. Commonly, the grades used are Mn14, Mn18, and Mn22.
There are many cone crusher liner manufacturers in the world, so why should you choose Qiming Casting? There are some reasons:
Different cone crushers have different working conditions. Using different cone liners based on working conditions can extend wear parts’ lifespan and minimize downtime.
Qiming Casting is available in various materials:
Manganese remains one of the top choices because of its durability and high resistance. The wear liner is ideal and people have used it in mining for over 100 years. Because of its property of hardening on impact, it remains one of our best-selling Cone Crusher Liners.
You can now choose from our production of various graded manganese steel cone crusher liners:
Learn more about manganese steel casting→
Manganese steel wear has a shorter life and cannot survive harsh working conditions, especially when crushing copper ore. We introduced micro-alloy crusher liners to ensure the same efficiency with longer wear time.
We make our cone crusher liner with molybdenum nickel, which enhances the structure of the casting. Our liners have a mix of manganese and carbon to strengthen the casting made of high manganese steel.
Our innovative micro-alloyed crusher liners give the same output with longer wear time. We offer different graded alloys that behave differently under various working conditions. Based on customer feedback, micro-alloy liners are better and last 20-30% longer than Mn22 liners.
Designed explicitly by Qiming Casting engineers for crushing ultra-hard stones. Here is how our titanium carbide Inlay Cone Crusher Liner will work;
As the stone enters the crushing chamber, the protruding titanium carbide rods are the first to come into contact with the stone. Because of the ultra-hardness of the titanium carbide rods, the titanium carbide rods wear extremely slowly. On the other hand, the working surface of the high manganese steel, which is the substrate, gradually contacts the stone. When the protruding part of the titanium carbide rod wears, it hardens the working surface of the high manganese steel.
The Benefits of Using Titanium Carbide in Mining Tools
Our customers say that cone crusher liners with titanium carbide last twice as long as regular steel liners.
Learn more about TIC inserts wear parts→
There are some study cases of our liners for cone crusher:
In today’s economic climate, cost reduction and profit maximization are paramount. Successfully managing a quarrying business involves strategic cost considerations, particularly in addressing significant expenses such as cone crusher replacements.
This article introduces a cost-effective approach to minimizing crusher replacement costs through the use of cast crusher liners. Recent advancements in this method have proven its effectiveness when applied in suitable scenarios. Cone crushers function by feeding stone into the top of the crusher chamber.
The chamber is equipped with crusher replacement lining, specifically the mantle and bowl liners. As the stone descends, it breaks due to the pressure and friction generated by the movement of the mantle and bowl liner.
The liners vary manganese content depending on the type of stone being crushed, ranging from 12% to 23%, resulting in materials labeled Mn14, Mn18, and Mn21.
Liner Selection
Crucial to crusher selection is the type of bowl liner:
Selection depends on the desired product and feedstock, emphasizing the importance of consulting manufacturers. Some offer computer-aided design services and wear-analysis for various crushers, including those of competitors.
Crusher Selection
Optimal crushing chamber selection is pivotal during cone crusher installation. The reduction ratio, determining the produced product, relies on the chosen chamber. Moreover, the closed-side setting, influencing both wear and the final product, requires consideration. Choosing a standard unit over a short head reduces fine product output, leading to recirculation and increased wear.
Chamber Characteristics:
Adding Protective Surface
To prevent early liner wear, experts apply a protective coating on the liners. Manganese liners may change shape and size over time, impacting the crusher’s fit. Precise application is crucial, and minor distortions with backing compounds are manageable.
The protective coating process involves placing the liner on a rotating turntable, preheating it, and applying a 3mm-thick chrome carbide bead. Wear patterns dictate treatment areas, and researchers experiment with various treatments to observe their impact on liners.
Exceeding the intended operating life of cone crusher liners can lead to detrimental mechanical issues. Prolonged use causes liners to flex, crack, and thin or cracked mantles may result in severe seat surface damage. While determining worn-out liners lacks foolproof methods, three key indicators signal the need for replacement:
In essence, efficient cone crusher operation demands proactive liner replacement. Monitoring production, assessing liner thickness, and adhering to a 10% decline threshold ensure optimal performance, preventing significant financial losses and maximizing crusher efficiency.
Typically, the process of changing cone crusher liners involves six steps:
Selecting the appropriate crushing chamber involves considering five crucial factors:
It’s worth noting that each cone crusher offers various cavity options with different feed openings and setting ranges. Choosing the correct cavity depends on factors such as feed size, setting, and application. Importantly, the crusher is just one component of a crushing circuit. Its performance hinges on the proper selection and operation of feeders, conveyors, screens, electric motors, drive components, and feed silos—all integral parts of the circuit. To optimize production, it’s essential to evaluate these elements collectively.
Typically, the production of cone crusher liners involves a sand casting process, following standard steps outlined below: